Manual

The instructions below were created for the online Silverlight version. The online HTML5 version is very similar (although it doesn’t have the option to create a circular or polygonal mask). I will add instructions for the Windows 10 app soon (usage should be fairly straightforward though).

File Click here to open the image you want to turn into a spiral. You can use jpg, bmp and png images.
Cutout Here you can select the shape of the area you want to make transparent. You can use a ‘circle’, a ‘polygon’ or with ‘none’ you only use the transparency of the image itself (png images only).
Note: when ‘circle’ or ‘polygon’ are used, ‘zenith’ will render the outside transparent and ‘nadir’ will make the inside transparent.
Tile With this option you can decide how to use the space outside the image boundaries. Use ‘none’ to leave it transparent, ‘clip’ to stretch out the edge of the image, ‘tile’ to repeat the image and ‘mirror’ to repeat while flipping every other tile.
Direction When two consecutive layers overlap, you can choose ‘zenith’ to put the smaller layer on top of the larger layer (the spiral seems to come up towards you), or ‘nadir’ to put the smaller layers below the larger ones (the spiral seems to vanish in the distance).
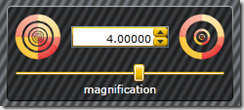
Magnification The magnification gives the relative size difference between two consecutive layers. A magnification of 4.0 means that each layer is 4.0 times larger than the previous layer.
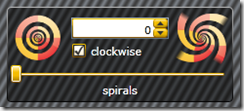
Spirals This option lets you decide how many spirals should be inserted. With the ‘clockwise’ option you can decide the direction of the spirals.
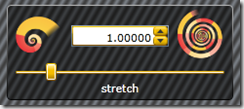
Stretch With this option the spiral can be stretched or compressed. The number indicates how many times the image is repeated within one revolution of the spiral.
Save Once you’re happy with the result, select ‘save’ to render a final high quality image which will can be saved as jpg, bmp or png.
Note: if you save as jpg or bmp you will lose transparency.